


IMPORTANT
This guide is currently being written; as a result, some features or detailed steps may be missing.
This guide does not cover the 1.12.2 MineJurassic mod. This tutorial is strictly focused on the Fossils & Archeology Revival mod.
This guide covers the essential steps for starting your journey with the Fossils & Archeology mod, specifically within the Fossilized modpack.
Phase 1: The Excavation
Your journey begins underground. You need to find the raw genetic materials of the past.
- Finding Fossils: Look for Fossil Blocks between Y=40 and Y=60. They appear as stone with embedded bone fragments.
- The Iron Rule: You MUST use an Iron Pickaxe or better — wooden or stone tools drop nothing.
- Mod Synergy: If you have Tinkers’ Construct, use a Hammer for 3x3 mining to find fossils faster. You can also use the Smeltery to double any ores you find while digging.
Excavation Loot Table
| Item | Source | Main Use |
|---|---|---|
| Bio-Fossil | Mining | Extracted into Dinosaur DNA |
| Relic Scrap | Mining | Cleaned for Ancient Treasure/Artifacts |
| Plant Fossil | Mining | Revived into Ancient Flora |
| Frozen Meat | Ice/Permafrost | Extracted into Mammal/Bird DNA |
TIP
You can also use a Sifter to process Relic Scraps. This is a great alternative to the Archeology Workbench for finding rare seeds and ancient items.
Phase 2: The Laboratory Setup
1. The Analyzer
Function: Processes prehistoric remains into usable DNA, ancient seeds, and artifacts.
- Inputs: Bio‑Fossils, Plant Fossils, Frozen Meat, Tar Fossils, Relic Scrap, and specific mob drops.
- Outputs: Dinosaur DNA, prehistoric seeds, ancient artifacts, or “junk” (Bone Meal, Sand, Gravel).
How to Power It:
- Passive Mode (Default): The Analyzer functions without external fuel. Simply inserting an item begins the process.
- Powered Mode (RF/FE): Connect it to external power to significantly increase processing speed.
- Early Power Tip: A Mekanism Wind Generator is an excellent starting point for power. Place it high up for maximum output and connect it to the Analyzer using Universal Cables.
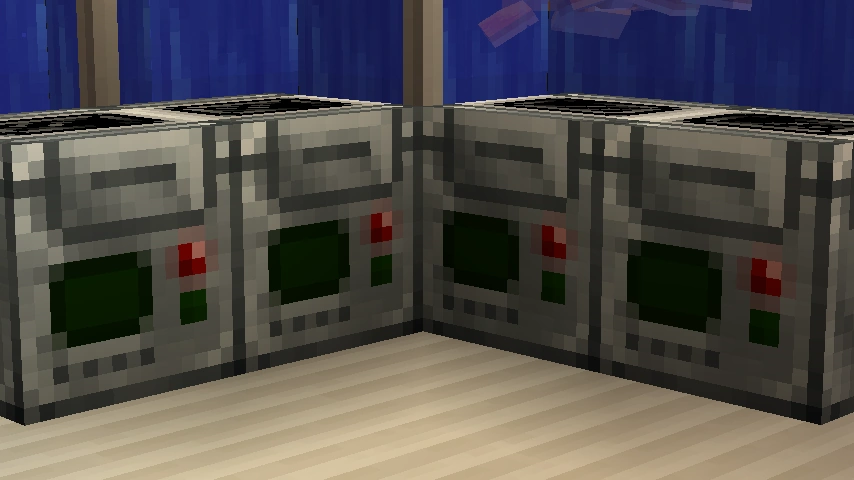
The Analyzer Block.

The Analyzer interface: Place fossils in the top slots to begin extraction.
2. The Culture Vat
Function: Converts DNA into eggs, embryos, or prehistoric plant items.
Inputs: DNA/seed + Bio‑Goo.
Fueling (Bio-Goo): Place organic materials into the fuel slot to generate Bio-Goo.
| Top Bio-Goo Sources | Value |
|---|---|
| Raw Meat / Fish | 100 - 150 |
| Seeds / Saplings | 25 - 50 |
| Slimeball / Egg | 70 - 100 |
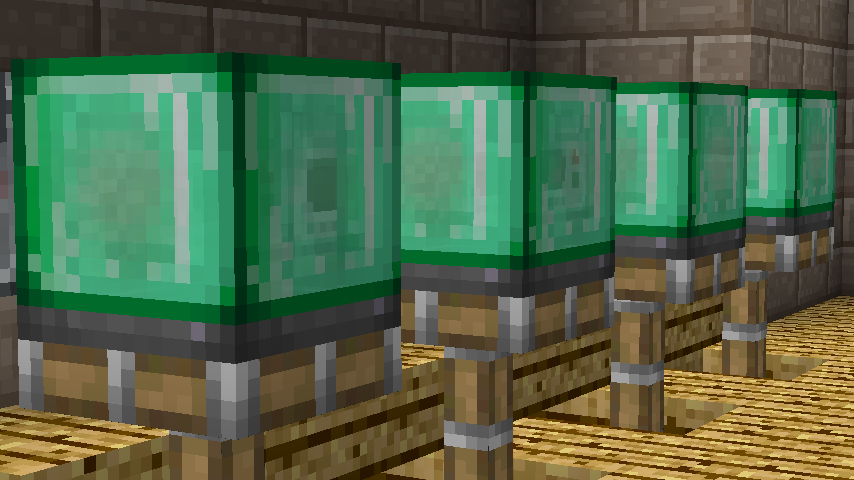
The Culture Vat requires Bio-Goo as fuel to synthesize life.
WARNING
Cultivation can fail! This destroys the vat and may spawn a Failuresaurus—be prepared for a fight.
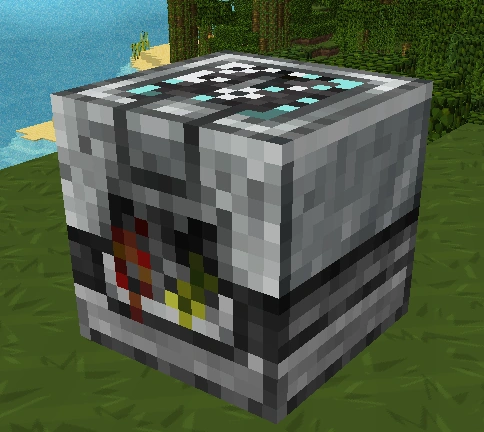
3. The Dinopedia
Function: Acts as your in‑game encyclopedia. Once a species is discovered, it shows diet, behavior, health, and growth info.
Crafting: Typically a Book + Bio‑Fossil.
Phase 3: Hatching & Early Care
- Terrestrial Eggs: Place on grass or dirt. Ensure the area is bright (Light Level 9+) or the egg stays dormant.
- Aquatic Eggs: Place near or in water.
- Embryos: Use a syringe on a surrogate animal (e.g., a Pig or Cow).
- The Whip: Essential for commanding your dinosaurs. Use it to toggle between “Stay” and “Follow” modes.
FAQ (Frequently Asked Questions)
Q: My egg never hatches, why?
A: Most eggs require a light level of 9 or higher to hatch. Place some torches nearby!Q: How do I feed dinosaurs?
A: Use the Dinopedia to check diet information. You can hand-feed them or use a Feeder Block to automate the process for large herds.
Q: My large carnivore is attacking me, what now?
A: Adult carnivores are naturally aggressive. Always secure them in strong enclosures (Iron bars or reinforced glass) before they reach adulthood.NOTE
All images courtesy of the Fossils and Archeology Wiki. AMPZ Network does not claim ownership of these assets, with the exception of the Fossilized artwork.
